
If you're a fan of vintage fashion, you might be interested in learning how to refurbish a vintage bolo tie.
Bolo ties were first popular in the 1950s and 1960s, and they've made a comeback into the mainstream today.
Refurbing a vintage bolo is a great way to give it a new lease on life, modernize the look, and add it to your collection of vintage accessories.
Here’s a quick guide on how to do it. If you want the full guide, read on for a step-by-step walkthrough with pictures and commentary.
-
First, gather your materials. You'll need a vintage bolo tie, a pair of pliers, a small flathead screwdriver (for prying), a jewelry polishing cloth, and a polishing compound.
-
Use the pliers to delicately remove the tips from the bolo tie. These are the decorative ends that hold the cord in place. Try not to pinch too hard or you may leave an imprint in the antique metal. Not all old bolo tips were made with hard metal – some are relatively soft and pliable.
-
If your bolo has an old school clasp that clamps down on the cord, you can use the screwdriver to delicately pry the bolo tie's clasp open. This is the piece that holds the bolo tie's cord in place. If your bolo clasp is not removable in this way, simply adjust the clasp’s position on the cord to clean different areas of the cord.
-
Once the backing is removed, you'll be able to access the cord. Use a portion of the polishing cloth to gently clean the cord, removing any dirt or grime. You may also use leather conditioning lotion to give some life & pliability to the cord if it’s needed
-
Once the cord is cleaned and conditioned, you use your polishing compound to buff your clasp/medallion and tips to a shine. Be sure to apply the compound evenly.
-
Once the clasp / tips are polished, reattach them to the cord. Use the pliers to crimp the clasp back onto the cord, and a little bit of super glue or epoxy to affix the tips.
And that's it! With just a few simple steps, you can refurbish a vintage bolo tie and add it to your collection.
FULL BOLO REPAIR WALKTHROUGH

Before

After
For this walkthrough, I opted to repair one of my grandpa’s old bolo ties.
Most of the bolos in his collection had become tarnished over time, and the cords were frayed from decades of wear & tear.
I’ve worn them many a time since receiving them, but now let’s go through the process of refurbishing one of these vintage collectibles.
HERE'S WHAT YOU'LL NEED:
-
Bolo Tie Supplies
-
A fresh bolo cord. I suggest using leather, cotton (waxed or untreated), or a synthetic you can trust. (Vinyl cords can be good, but some low quality options really suck… be wary)
-
Shiny new bolo tips. Technically these little doodads are called aglets. In this case I actually reused the old bolo tips, but don’t let that stop you.
-
A modern bolo slide: TENSION CLASP. Many old bolo ties have a simple version of a bolo slide. This old slide can’t be easily loosened once you tighten it, which causes damage to the bolo tie every time you adjust it. Get the spring-y kind of slide that let’s the wearer adjust their bolo on the fly. You’ll thank yourself years from now when your bolo looks as fresh as it did on Day 1.
-
-
Tools
-
Pliers - for pinching and pulling
-
Tweezers - for tiny pinching and adjusting
-
Rotary tool (I use a Dremel) - for removing old solder from a vintage bolo medallion, and for cleaning out old glue from vintage bolo tips
-
Exacto knife - for slicing lengths of bolo cord and also for removing soft solder from an old medallion
-
Industrial strength adhesive - for sticking things together in a way that won’t unstick
-
You could also use solder for the medallion part, but you’ll still need adhesive for the bolo tips
-
-
Rubbing alcohol - to remove gunk & junk from an old medallion
-
Silver polish - to make your style sparkle, player
-
STEP 1:
DELICATELY DISMANTLE THE BOLO TIE
Alright first things first, I cannot stress enough…
When taking apart something this old: BE DELICATE.
I use a proprietary blend of patience, delicacy, and small hand tools to get the job done.

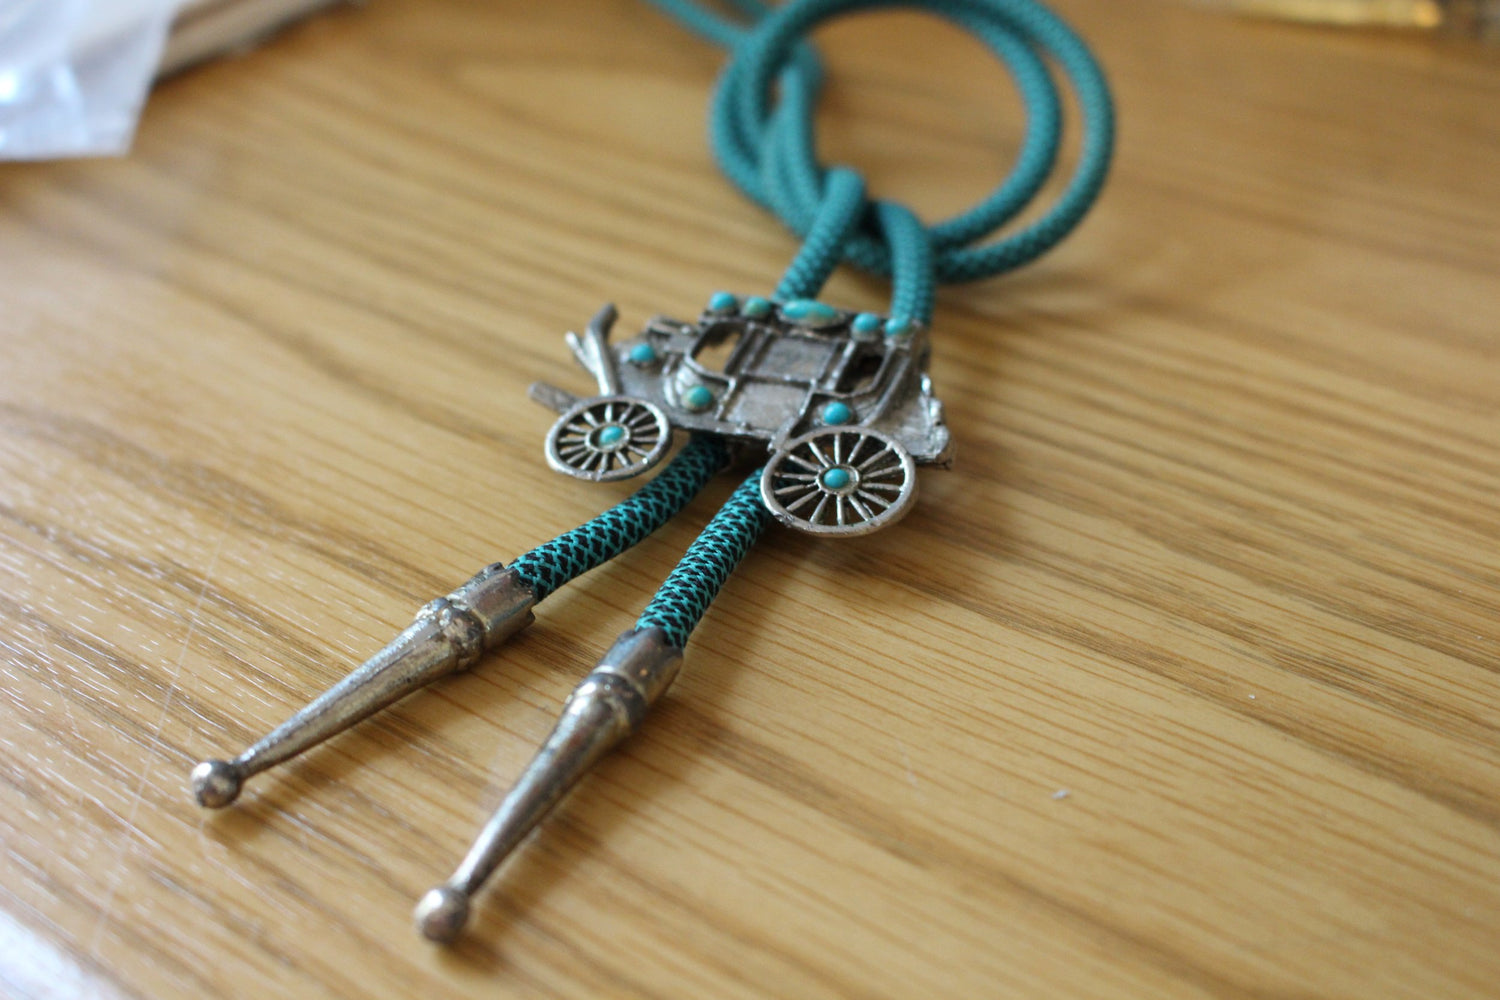
The vintage silver medallion & fraying vinyl cord.
For this project I trusted my pliers, a pair of tweezers, and an Exacto knife.
To remove the aglets, use your pliers to grab the cord right where it joins the bolo tip.
Gently pull & twist until you start to get a little movement, and finally pluck out the cord in one go.

The vintage silver bolo tips (or aglets as we bolo-makers call ‘em)
The ancient glue that is holding the bolo tip on should give way pretty easily.
Toss the old cord. You won’t need it, especially if it looks as bad as this one right here.

Up close & personal with a vinyl bolo cord that has seen better days.
WHAT YOU’LL KEEP:
-
The Medallion
-
The Bolo Tips
Throw out that old vinyl faux leather cord. We’re upgrading that with something much cooler today.
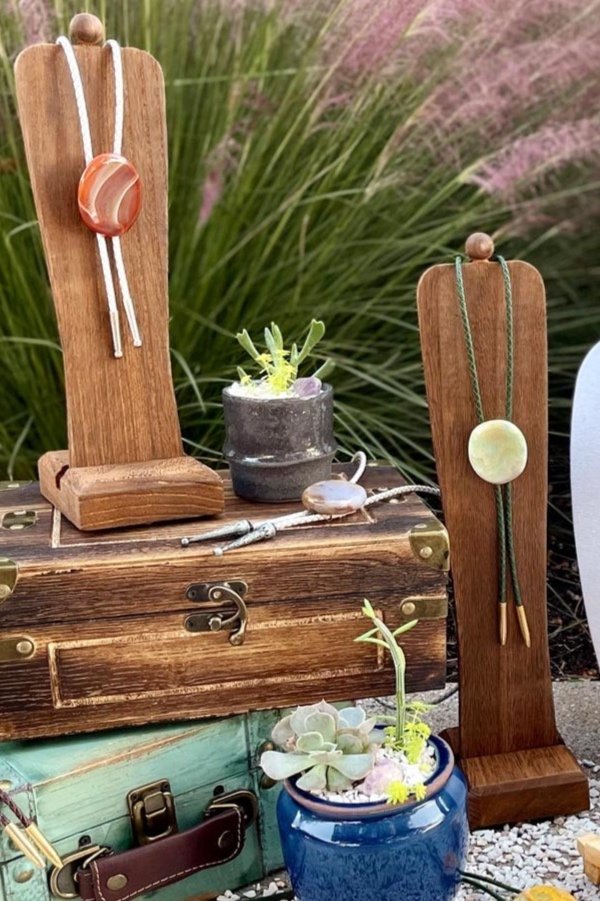
PREFER NEW OVER VINTAGE? 〰️ CLICK HERE FOR NEW BOLOS 〰️
STEP 2:
CLEAN + PREP THE MEDALLION
This medallion looks like it is made of silver. TBH, it’s likely silver plating over something less valuable - maybe pewter or lead… I don’t know.
It’s important to be careful when handling old metal like this because I really have no idea what it’s made of.
I can see the top layer chipping away in some areas, so this just means I need to be careful while cleaning it. Don’t want to make things worse while I’m trying to make them better.
As you can see below, before I cleaned the medallion, it was pretty junky.

Before - Gunky and tarnished. Probably hadn’t been cleaned in 40 years.
But with a little TLC (and rubbing alcohol applied via Q-tip), most of that junk came right off.
This left me with a spiffy little medallion that actually sparkled.

After - Shiny like a new penny. There are parts of this that are just too difficult to reach or simply too delicate, but that’s okay. It doesn’t need to be perfect - it is a vintage piece after all.
Once I had the front surface of the medallion cleaned it was time to take a look at the back.
If you look below, you can see the old school bolo slide I mentioned earlier in my supplies description.

Booooo. Whoever invented this type of slide is still burning in bolo hell.
All it does is CLAMP down on the cord and hold the bolo in place.
This is great if you’re the type of person who likes a clip-on neck tie. (boooo)
But it’s bad if you’re a stylish person who adjusts your outfit to match your mood.
I used my pliers to simply pull this slide right off the medallion.

In my experience, these old medallions have a slide that has been soldered on.
FYI: Solder is a really soft metal that is great for jewelry making.
Here you can see what it looks like after I have finished taking the slide off. I’ve also used my Dremel to clear away the old solder.

Since the solder is so soft, I switch between a Dremel and Exacto knife to clear it away.
With an Exacto knife you can literally carve away pieces of solder like cake.
JUST BE CAREFUL.
Like I’ve already said… the first rule of repairing old bolo ties is BE DELICATE.
If you look closely at the image above, you can see that I’ve scored the metal a little bit.
This was done with an Exacto knife, and it is an essential step to consider when sticking things together with adhesives.
The rougher your surface is, the more surface area the adhesive has to bond with.
In addition to scoring the back of the medallion, I also scored the back of my new bolo clasp. Double whammy.
I attached the two pieces together and used a dull Exacto blade to clear & smooth away any overflow.

Set your medallion out to dry while you work on the next steps.
I usually let my bolos “cure” for 24 hours to ensure a proper bond.
STEP 3:
CLEAN THE BOLO TIPS
While your new bolo slide is bonding to your medallion, it’s time to clean out those vintage bolo tips.

Taking all due care for a piece of vintage jewelry, bust out your Dremel.
If you don’t have a Dremel, this might be harder to complete. Before I had a Dremel, I used tweezers & pliers to manually pluck out as much old glue as I could.
Take your Dremel and select a rotary bit that is slightly smaller than the bolo tip interior.
Ramp up your speed and carefully excavate the inside, cleaning out any old glue / residue.
Try not to damage the exterior of the bolo tip while using the Dremel.
Once your bolo tips are clean, congrats! Now check to see how your new cord fits.
You can see below that I repurposed one of my old bolo cords for this project - this one is an untreated cotton lace in a color that matches the turquoise on the bolo medallion.
I removed the bolo tips using the same process listed above and made sure that after cleaning out the vintage tips my new cord would be able to fit. (A cord that’s too big for your tips is no good.)
STEP 4:
ASSEMBLE YOUR BOLO IN THE RIGHT ORDER
The last step is to reassemble your new & improved bolo tie.
Be sure that you loop your new cord through the new bolo slide before glueing your tips on.


TO RECAP:
-
Dismantle the old bolo tie delicately
-
Clean all the parts & prepare your supplies
-
Glue your new bolo slide/clasp onto the back of your medallion
-
Run your new bolo cord through the slide once the adhesive has dried
-
Glue your bolo tips to the end of your cord and let everything dry for 24 hours.
-
Wear your new bolo.
-
????
-
PROFIT
Run through all these steps in the right order and VOILA!
You’ve got yourself a great new bolo tie in a beautiful colorway.
Thanks for reading!
Feel free to DM on Instagram or contact us here if you’re ever interested in a custom bolo tie, or you want an old bolo tie refurbished.
Leave a comment
This site is protected by hCaptcha and the hCaptcha Privacy Policy and Terms of Service apply.